I used a very large background image and set it with WidthFraction, HeigthFraction, psFit, Anchor to the center. Everything is OK.
Then I inserted an image cut out from the background and resized it.
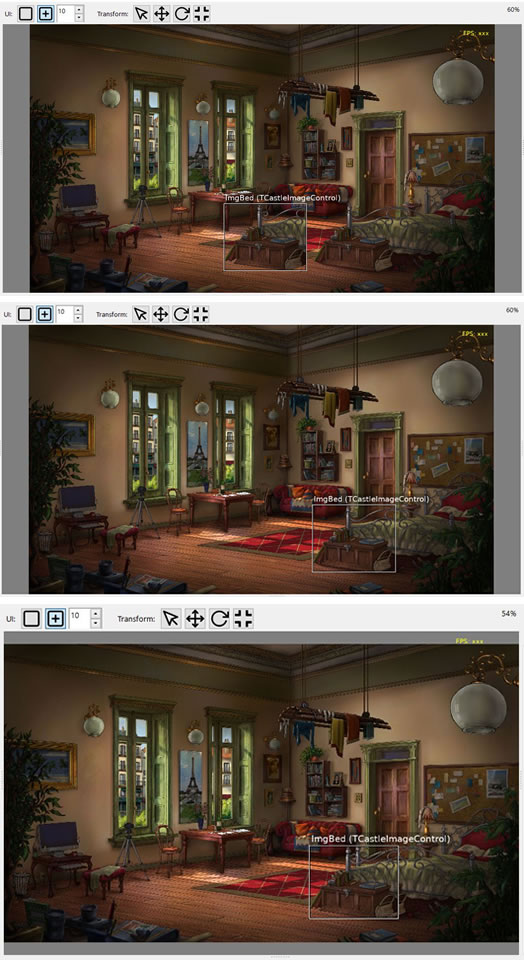
What happens is that by resizing the Editor (but also with the application running) the sprite moves when the sidebands are replaced by the upper and lower ones.
I tried to play around with the settings a bit but without success.
Is there anything I can do to anchor the image there?
I was also wondering: when I insert an image cut out from the background it is quite laborious to manually resize it so that it perfectly overlaps its copy.
Isn’t there a way to give it the same aspect ratio as the background image has at that moment?
I thought that a solution would be to work on the images of real size, so it will then be the engine to resize everything by enlarging or decreasing the window but it would not seem possible to do it. Maybe if the Editor had scroll bars?
At the moment it can be solved by creating a sprite of the same size as the background image. So it works well.
Otherwise, the anchors of the smaller image are relative to the whole window – so it will shift differently, when the window size doesn’t match exactly the background size.
If this doesn’t work, submit a testcase, I’ll take a look at it (it may even be just a project without code, just the necessary data to open the design + images in the editor).
If you set TCastleImageControl.Stretch to true, and ProportionalScaling to either psFit or psEnclose, the TCastleImageControl size follows automatically the aspect ratio of it’s own image.
If you set TCastleImageControl.Stretch to false, then TCastleImageControl size follows it’s own image size (well, it will be resized then following UI scaling, Customize look by CastleSettings.xml | Manual | Castle Game Engine , but this never changes aspect ratio).
There is no facility now to say “image X should have the same aspect ratio as a different image Y”. For this you would need to track it manually, i.e. use ProportionalScaling to psNone… Hmm, actually, there is a way! Place image X as a child of image Y, and set WidthFraction and HeightFraction to the same value (e.g. to 0.333), and ProportionalScaling to psNone. The size of image X will then correspond to the size of image Y / 3, in both dimensions – so it will keep the aspect ratio of Y.
The project is attached, I would seem to have set the parameters correctly but I must have done something wrong
Sorry, I didn’t mean aspect ratio, it is actually correct. I meant: I load the background image that is displayed in the Editor at let’s say 35%. There would be no way to insert an image, in my case cut out from the background, and force it to automatically resize to 35%? In this mode there would be no need to manually resize it. BS.zip (20.3 MB)
Hm, indeed, I see the problem. ImgBed definitely moves (with respect to ImgBG) when I would expect it to stay “glued” to the background.
I do not yet have a good answer “why” – will get back to you.
For now I have a workaround – instead of using WidthFraction = HeightFraction = 1.0, you can set them (WidthFraction and HeightFraction) to 0.0, and set Height to 900. This will still make the image auto-resized with the window (as the “height 900” just means "it should have height 900 when the window height is 900, otherwise use UI scaling and adjust it’). And in this approach, the ImgBed “sticks” to the ImgBG, no matter what I do – which is good.
Ah, so you mean you’d like to apply the same scale, 0.35, over both images? So one image is 0.35 of the original, the other image (with maybe different size) is also 0.35 of its own original?
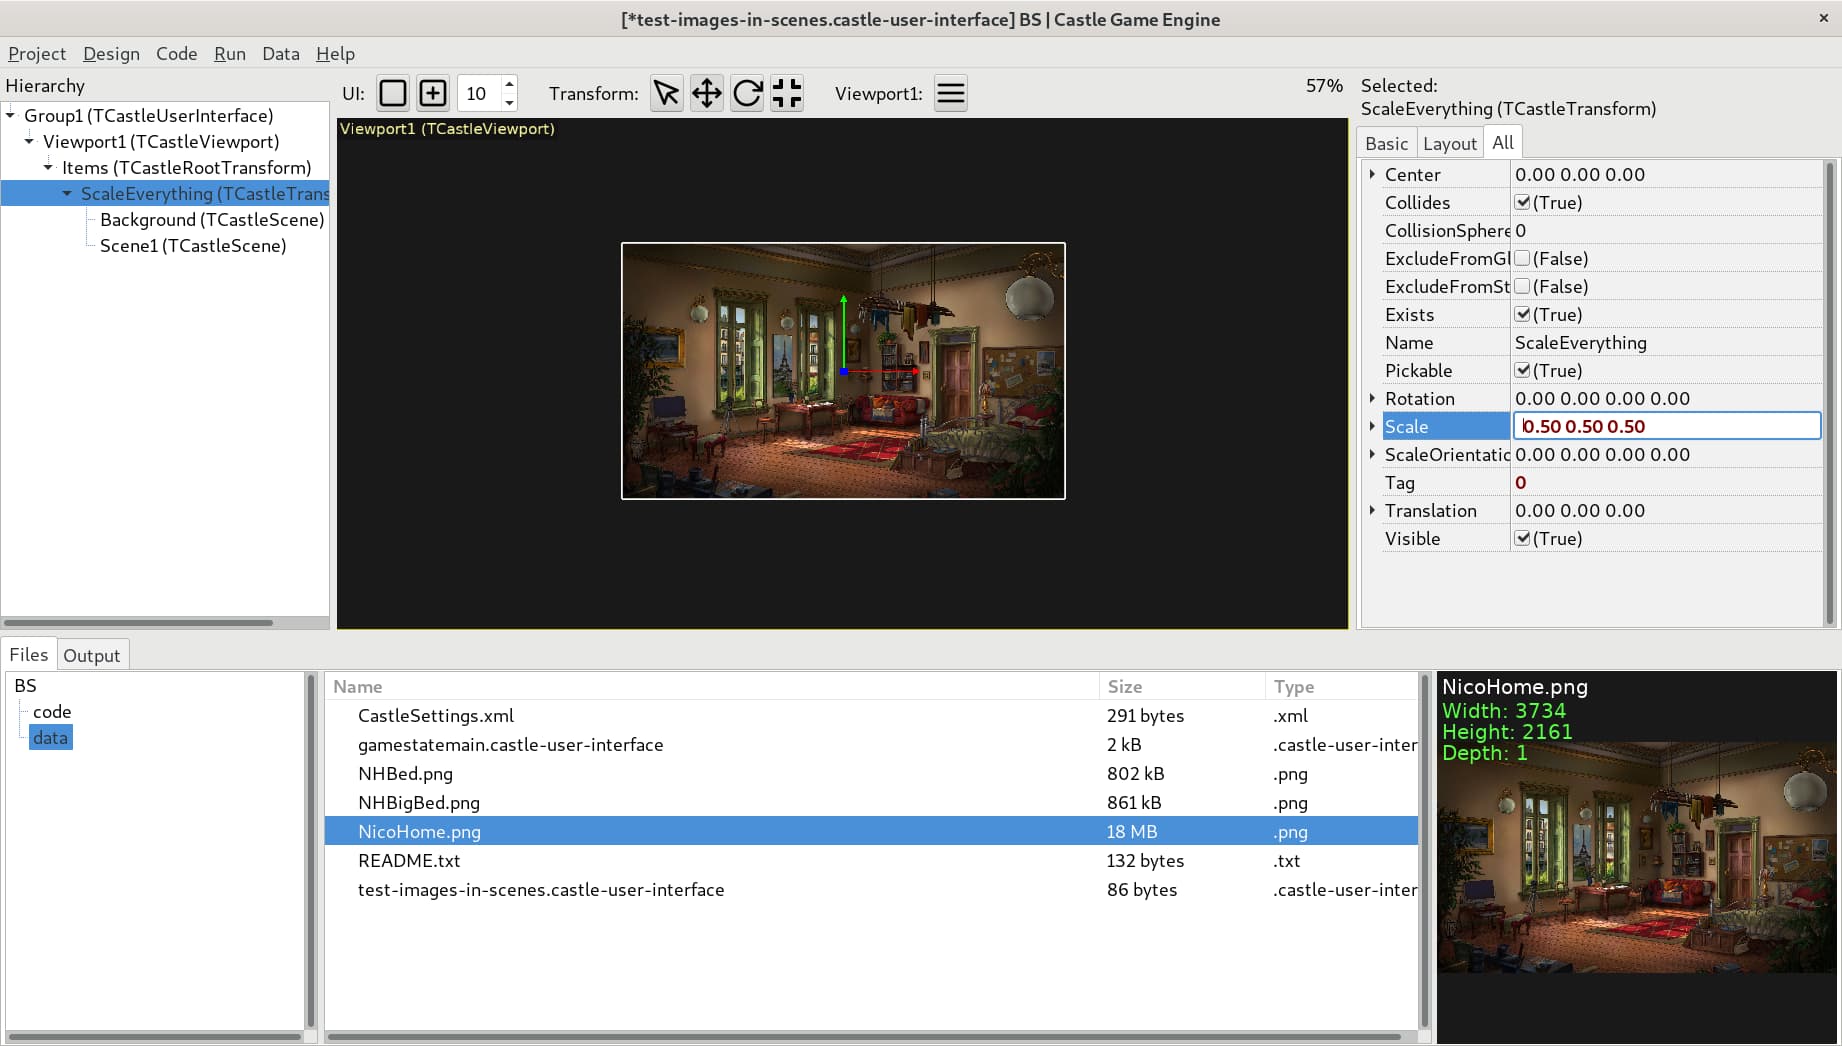
This is not possible with UI controls and TCastleImageControl. They do not have a transformation hierarchy that has a scale.
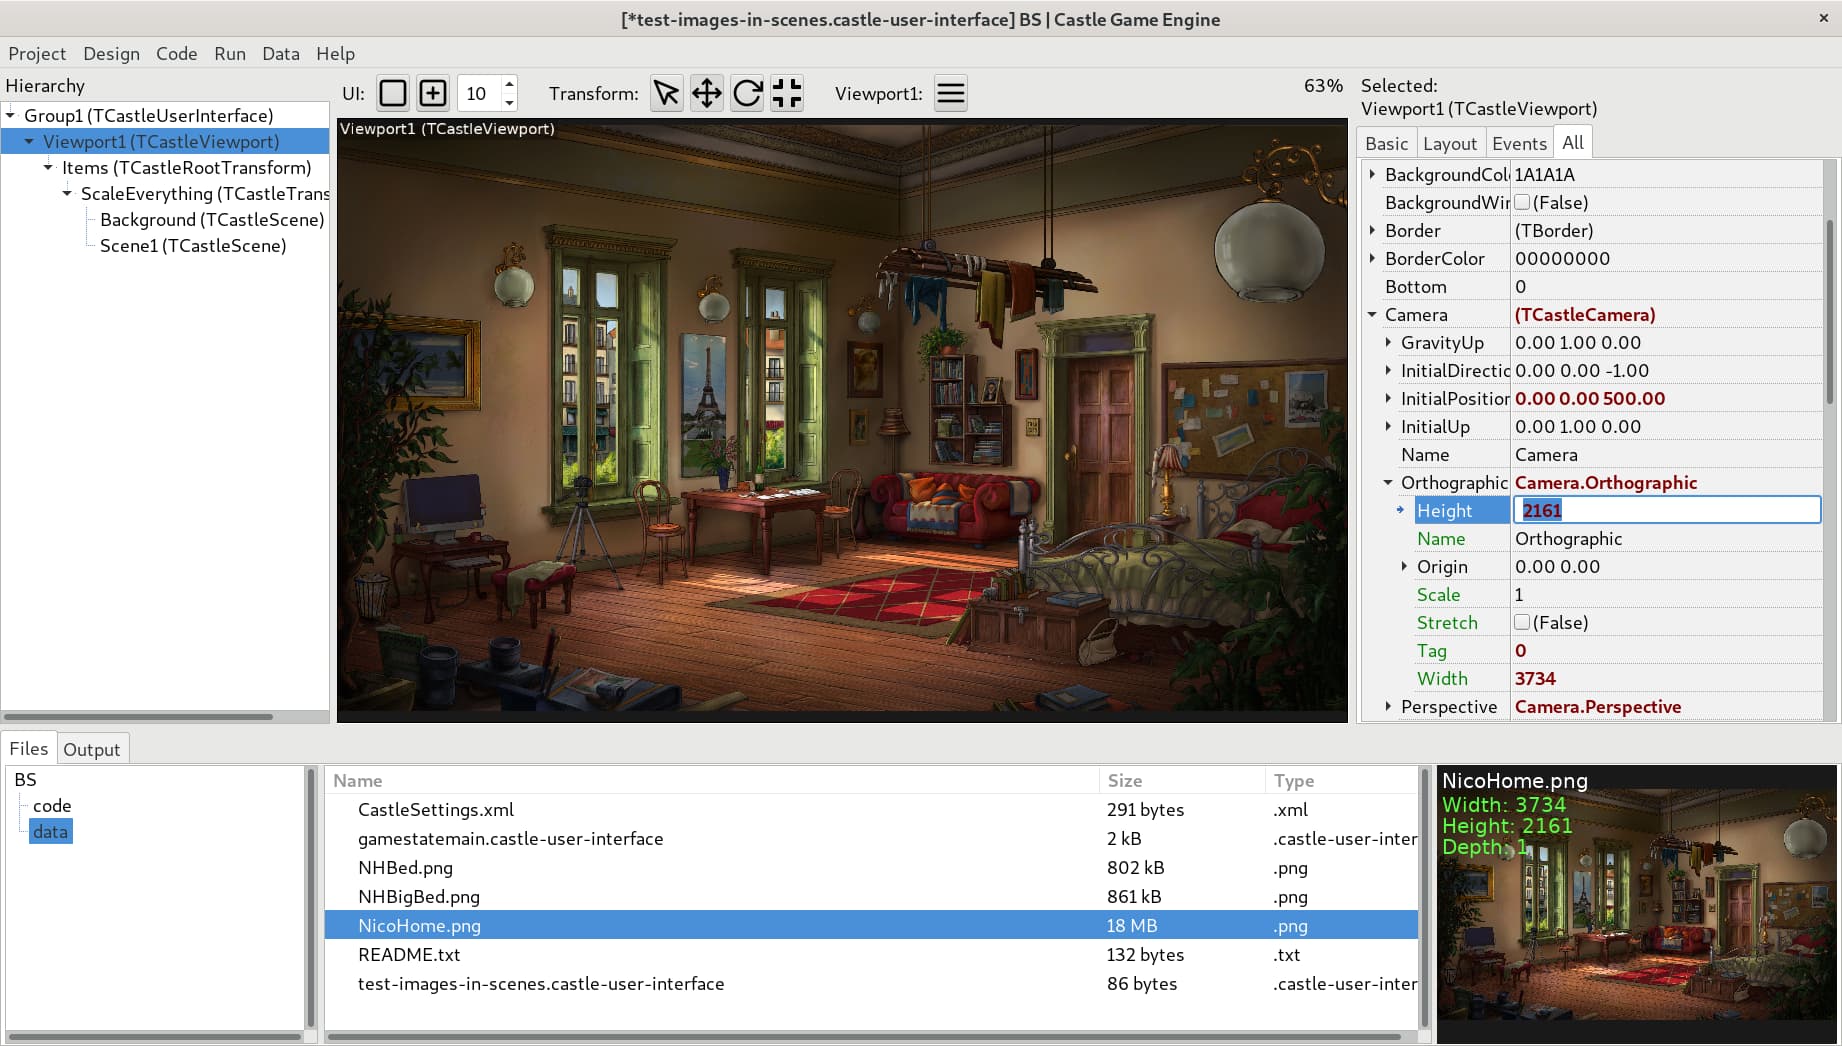
But it is possible with using images inside TCastleScene (which is another option for images, see Images · castle-engine/castle-engine Wiki · GitHub ). In this case, there is a full transformation hierarchy, and you can use one scale to affect all images. Or, you can set Viewport.Camera.Orthographic.Height to “pretend” you have a give height in the viewport. So you actually have 2 ways of “scaling everything” then.
@Carring Now it is I who should study the coordinate system as you have done up to now
I will read all your posts thoroughly but in the meantime I ask you: when you upload the background image (using TCastleScene) it is at coordinate 0, 0 therefore visible only for a quarter. Is it necessary to move it to the center of the camera or set the camera origin to 0.5 0.5? Or do something different?
Don’t do that. It did it while I started this and it had me frustrated for Months because Transform 0,0 was always in the middle of the image, so every X,Y value got negative values when moving left of bottom with a sprite.
I just sorted this out with the latest manual update of @Michalis. I took this as a starting point. You used it for your plane moving code. Now you should using transforms instead
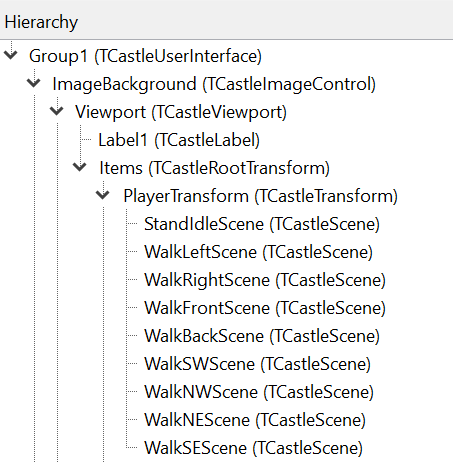
This is my current hierarchy:
You can use the properties of the imagebackground as in the example of Michalis.
I added Viewport, also all anchors in the middle, Fullsize true and set transparant.
Then you can add transforms to the viewport. 0,0 will be left bottom of the image.
I added scenes for all walking directions.
I just got it all working yesterday and now I am learning placing characters and objects behind others and scaling them.
You decided to go with anchoring all your scenes to the left-bottom corner of the viewport. I think you choose it because of unrelated problems you had trouble solving. CGE supports various ways, so I’m happy to help with this approach. But it’s a good general advise to use Origin=(0.5,0.5). Just like keeping Origin=(0,0) is a good approach. Both approaches make sense, it depends what one wants.
What happens is that when you load the image to TCastleScene, by default the pivot of TCastleScene is in the middle of the image. The new scene is placed at translation (0,0) and the camera is set up such that the left-bottom corner of the viewport looks at point (0,0) of the world – so the middle of your picture is in the left-bottom corner of the viewport.
Various ways to solve this:
Keep the camera as it was. Set a Translation on your image scene, to just move it by half the image size (in both X and Y). This is OK, and it means you position everything relative to left-bottom corner of the viewport.
Change the camera such that the middle of viewport is the (0,0) point of the world. So you set Viewport.Camera.Orthographic.Origin to (0.5,0.5). Leave the background scene translation at zero. This means you need to be prepared to work with negative X and Y for transformations – as you will lay out your scenes around point (0,0).
Both approaches make sense, and they depend on
what coordinates you want to use (only positive in AD 1, or negative and positive, symmetrically around 0, in AD 2)
do you want to allow resizing the viewport and what do you want to happen then.
In case of AD 1 the things stay glued to the viewport left-bottom. You can set viewport size to have a fixed size, equal to the background image size, and then center the whole viewport. But it means you hardcode more and more the “background location size”. All your locations should have the same background size.
In case of AD 2, the things stay glued to the viewport middle. It works regardless of your background image size, you can even change it from location to location.
This was for me not usable because of the negative values with moving in Y and Z. For 2D adventure games it was much more comfortable to use only positive values so I am still very glad with your latest manual update on this.
As said – I get that you prefer to work with things glued to the left-bottom of the viewport. But for me it remains just one of the sensible options. The other sensible option is to keep things glued to the center of the viewport. The negative values are not a problem at all, you just need to think about them in calculations.
In “The Unholy Society” we used various coordinate systems, some had negative coordinates, and it was easy to manage. The bottom line is that sometimes this, sometimes that makes sense – it depends on what coordinates are more “natural” to the problem you’re solving.
Without knowing any other specifics, I would actually recommend going with Viewport.Camera.Orthographic.Origin = (0.5,0.05) – because it means you can keep things centered, without ever harcoding your background image size.
OK, thanks!
I don’t want to start working with settings that might work but are not fully indicated …
@michalis I would like to ask you for a suggestion.
This is what I would like to achieve and start developing around it:
To work in orthographic mode (2D) I can use Dragon as a starting code but if I wanted to work in a 3D world (perspective) with a fixed 2D background image (at most with side scrolling such as Dragon) there is an example that can be used as a reference point departure? I looked at the many examples of CGE (especially Third_person_camera and Fixed camera game) but I didn’t find anything similar to my example video. Maybe you know if there is any example on GitHub?
@Carring No, with Unity that uses C # as a language and I reproduced the same scene both with the camera in perspective mode (in 3D environment) and orthographic (2D) but always using the 2D background image. I would like to use the 3D world so as to place sprites on the Z axis and not have to work only on the X and Y axes.
I too have played all the Broken Sword (and Syberia) games.
If you have time, watch this movie with background stolen from BS5 too (skip to 7.40).
This is what I want to achieve with CGE and I am sure it can be done. There is just a lot to study
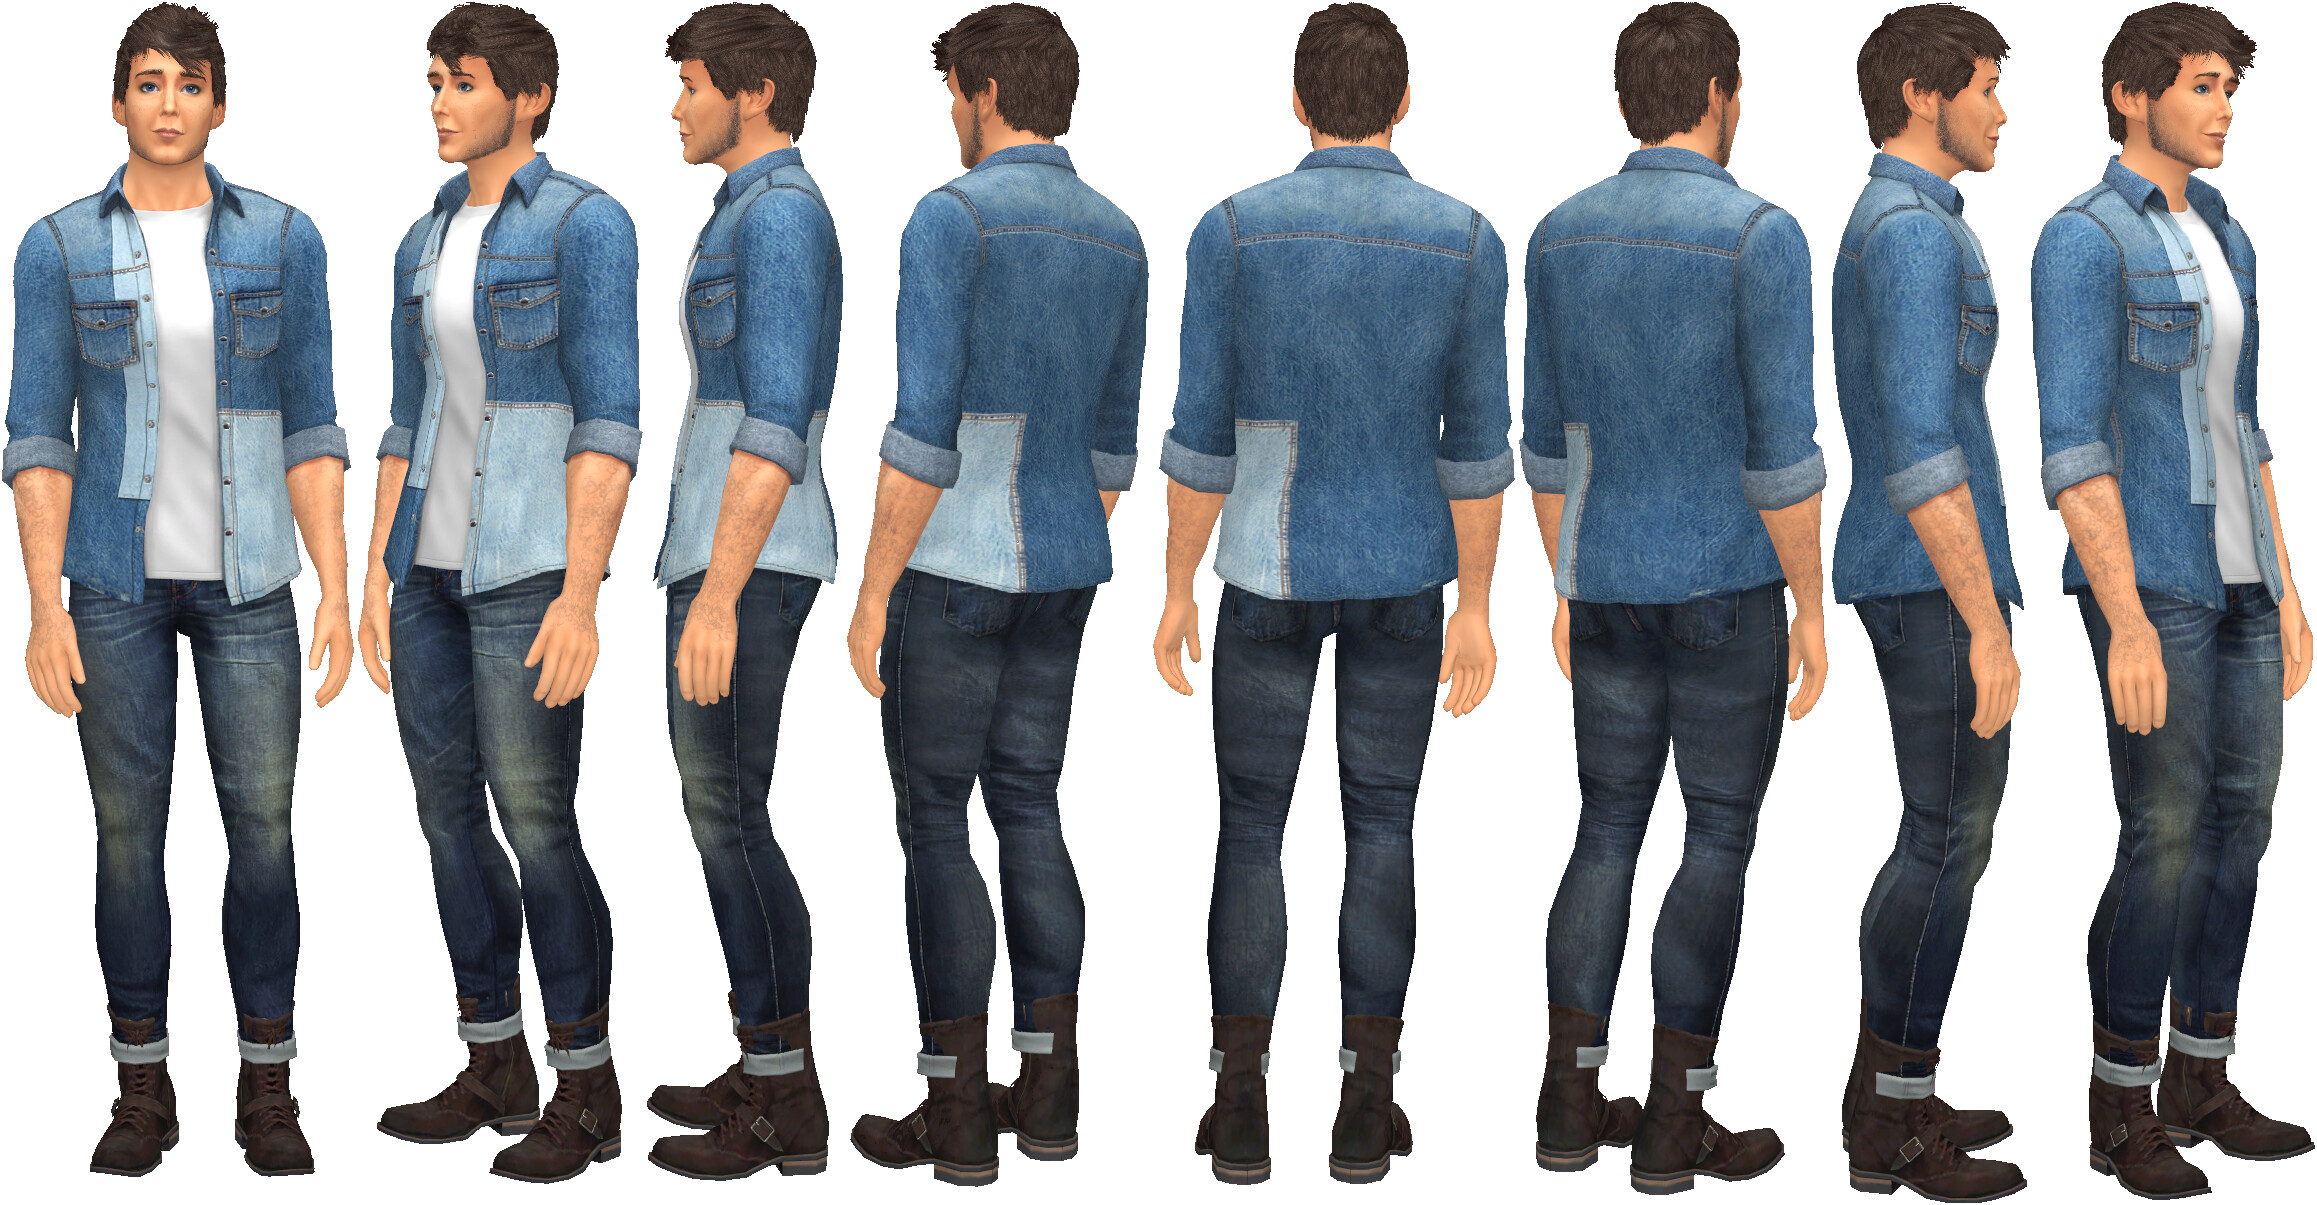
I have to add diagonal walking and there is a bug that prevents the character standing in different directions; it only faces front. Very annoying as I have 8 standing frames in different directions in 1 spritesheet. I have not figured out why this is not working. It was working before but then I obviously changed something in code.
@valterb
I spend a long evening sorting out why my standidle scene was only showing the first image.
Then I discovered I had set Playanimation speed to 0 in the editor, just for this scene.
Well, I was angry and relieved at the same time.
This is my update. The changing directions are still abrupt but at least the facing directions work.
I have added moving between locations also.
Next step will be using your code again for walking in 8 directions by mouse clicking.
With 8 directions the shift should appear less abrupt. Later, when the basics of the game are stable enough, it could be envisaged to insert a “Turn” animation at each change of direction. It will be necessary to manage the part that the character will turn from in order to play the correct animation but this would make the 2D scene very realistic.
Yes, by changing direction, for instance, from facing front to left, it actually has to play the standidle facing southwest first.
I have all the images. Problem is the system has to play image 2 (and 3?) of the standidle xml file and then the walkleft xml. These are 2 different scenes also.
And what I want to add also is a slowly accelerating from stand to walk. So Playanimation speed has to differ during playing.
I would like some help with these 2 expansions. So if you have any ideas you are very welcome.
This shouldn’t be a problem. At the moment I know little about the new sprite system but with the old one the solution was simply to load the idle sheet, play the frame, then load the walkleft sheet and start with the second animation.
But when I wrote sprite-demo-castle-engine I had another idea in mind: create a sprite sheet just for the turn movement and use at least one more frame for each section.
So: the character is stationary in idle left position, to turn towards down we will have additional frame + left down + additional frame, finally down. This would give me great animation.
I don’t know if it’s the right way but couldn’t you create a scene where your sprite rotates through the three positions, hide main scene, show the second scene (turn), play this, hide it, and start again with the main one? It is just an idea. I don’t know if it can be done. Maybe just one sheet is enough where the character goes around and when you load it you play only the interval you need and in the correct direction.
Another question just because I don’t know yet. But wouldn’t it be possible while playing idle or walk to use a mirror function? Maybe this way you could use half of the sprite sheets?