It’s been too long since my previous update but I am still learning Pascal and using CGE so things are going slowly (but still they go).
At least up until now I still succeed in transferring my ideas to code.
I have put a new video (link below).
What I have added since the previous one:
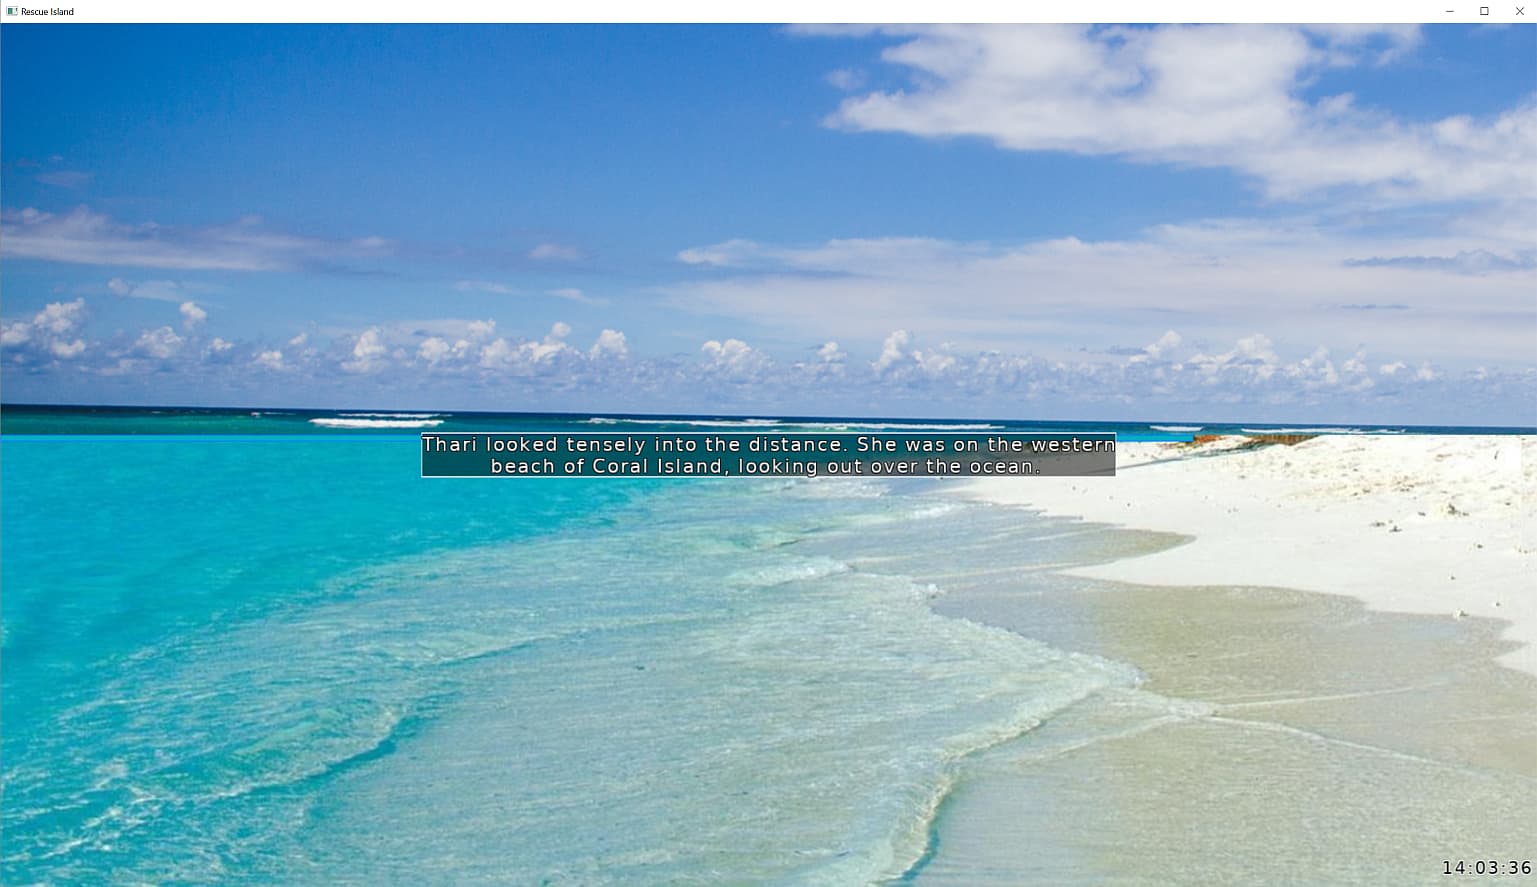
Game time clock. You can see it running bottom right screen. Yes, it is going really fast, a game minute should last about a real second.
The use: Screen will become dark when it is becoming evening and night and so on, game happenings will place at certain time, NPC characters will have a time based agenda etc.
Conversations.
a. Narrator text will show in the middle of the screen when there is something happening
b. NPC text will show up with every close up of NPC. Their texts are in textfiles and are read back with TStringList. With a certain “key word” on a line another NPC closeup (Transform) is triggered.
Acts
All you see in this video is automatically performed; there is no user input since it is an introduction.
It goes through a sequence of ‘Act’ procedures.
Decreasing speed of the speedboat as it reaches shore.
Increasing and decreasing speed is in a separate procedure so I can use it again for other moving stuff (the landrover on second screen).
Things to do:
The ocean water is going “under” the beach. It should go over the beach and then flowing back.
I don’t know how to achieve this. It would be nice to get the effect by code. I noticed Michalis working on water but is this only for 3D? How can I use this in my 2D environment?
The original animation is going smoothly but while recording it became a bit jerky (the boat movement).
Sorry for that.
If you have any comment or suggestions on improving I would like to hear them. Thanks!
The water in my terrain post New components to generate terrains, along with a demo including water and planting trees – Castle Game Engine is done as a mirror that reflects the surrounding environment and additionally the surface is “perturbed” to simulate waves. It is reasonable when the environment is 3D. When the environment is 2D… you could try using it (the water can reflect anything, even flat images) but the result will likely be weird / not what you want
In your case, you need to make smooth transition between the sea on the left, and the beach on the right. I would use an additional image that uses alpha channel to smoothly “transition” between 100% of the sea being visible (when it touches the beach) to 0% of the sea being visible (make it a few pixels to the right of the beach). And render the sea on top of the beach.
How to apply such image depends on how you play the sea. If this is just a series of PNG images, then just add some alpha channel to them, and manually make the alpha channel reflect where the sea is (white) and where the beach is (black) with some smooth transition between.
Thanks.
I used this series of png and scaled it Vector3(1.85, 4, 0) to fill out the ocean.
So maybe I should cut/remove a little piece of the right side of all images, make it somewhat transparant and add it again to the first piece?
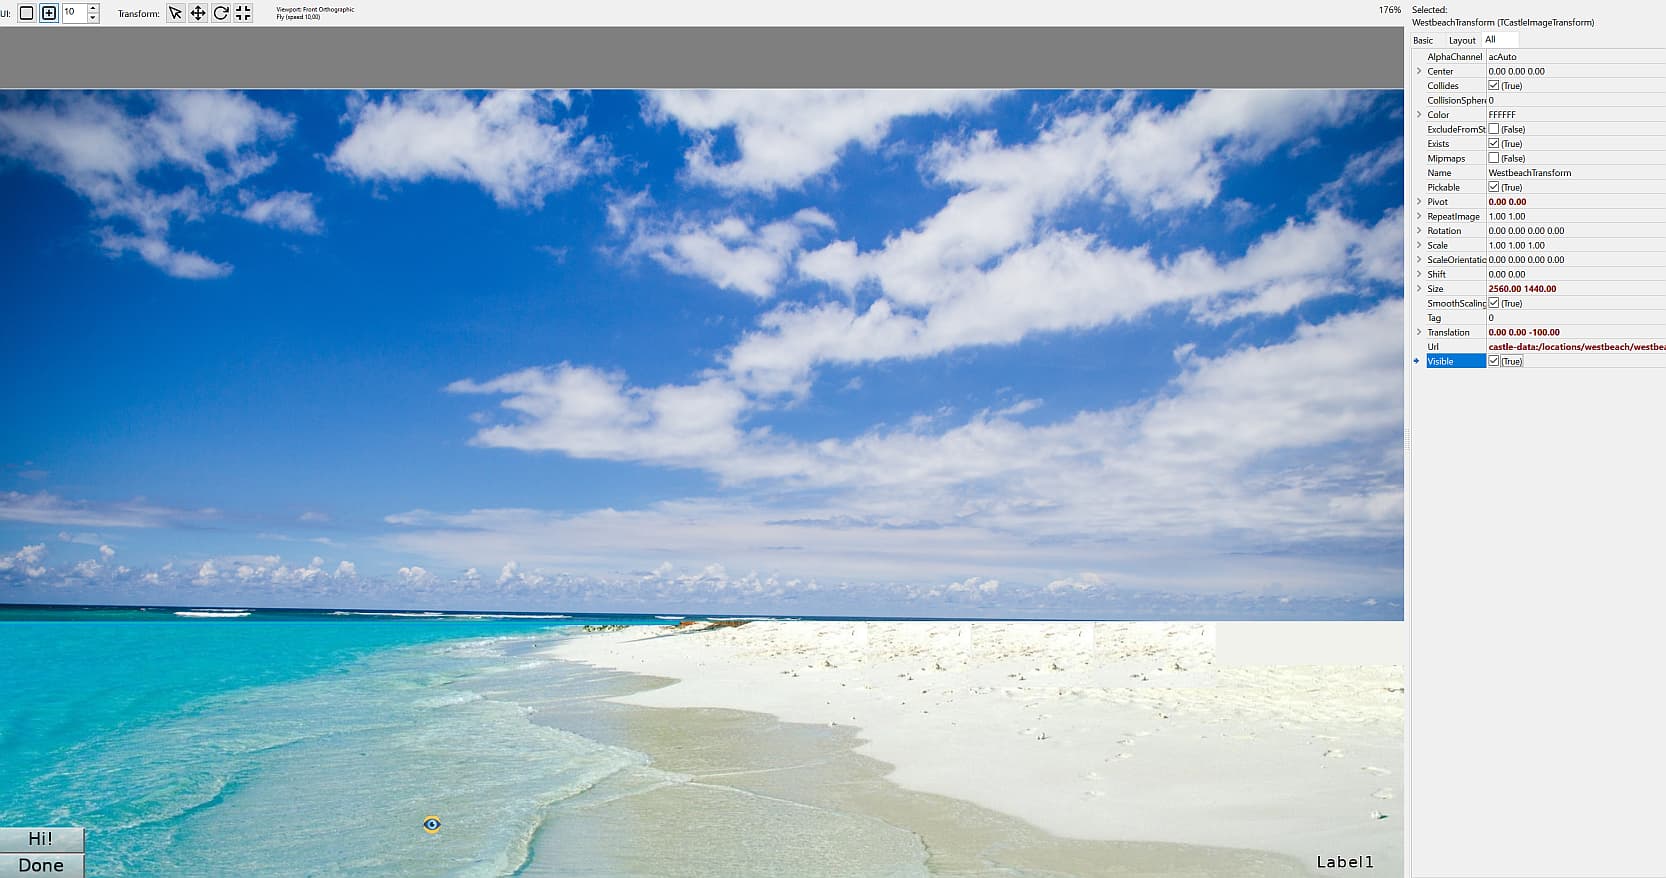
Another problem I just found using the editor to “place” image background.
In the editor the picture is shown allright but when I run the program it is enlarged?
This was happening after I set the Pivot of the Transform to 0,0.
When I had Pivot 0,5 0,5 it was shown correctly on running but I want to have bottom left as 0,0 so when I place objects they will be relative to screen coordinates bottom left also.
I have nothing changed in the code so I don’t understand?
Update:
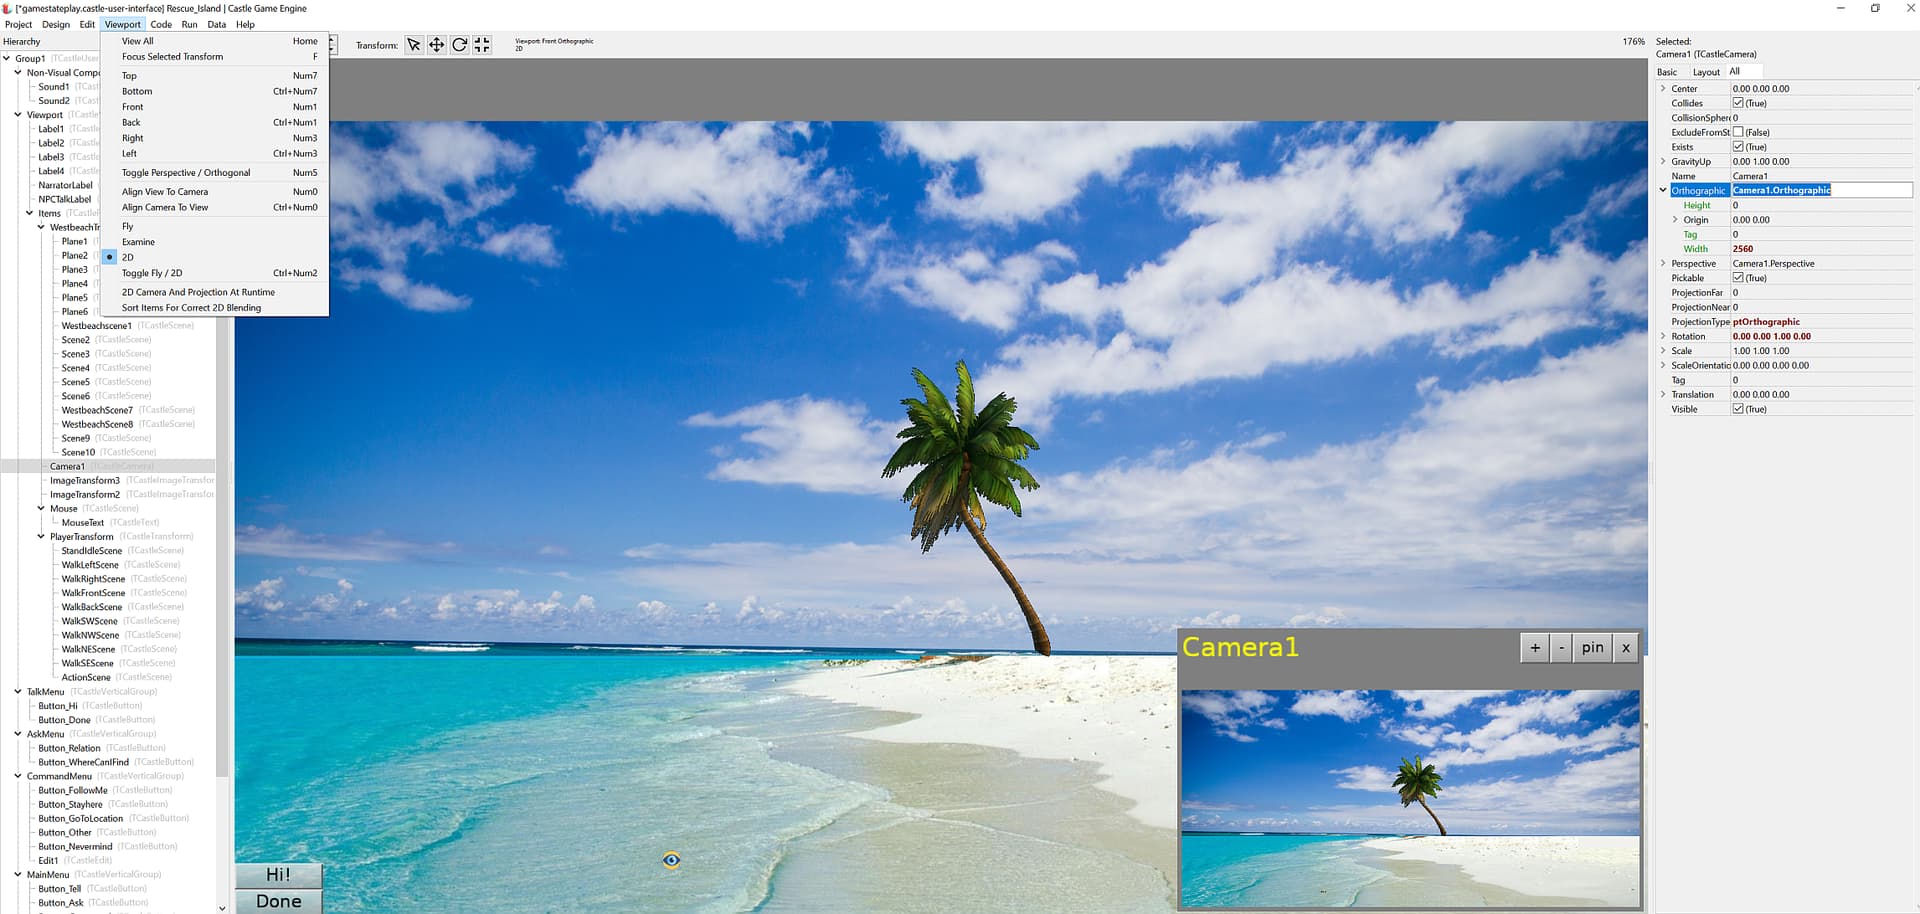
I just found out that Viewport-> Align camera to view" in the editor and then save the design gives the right image size and position on running.
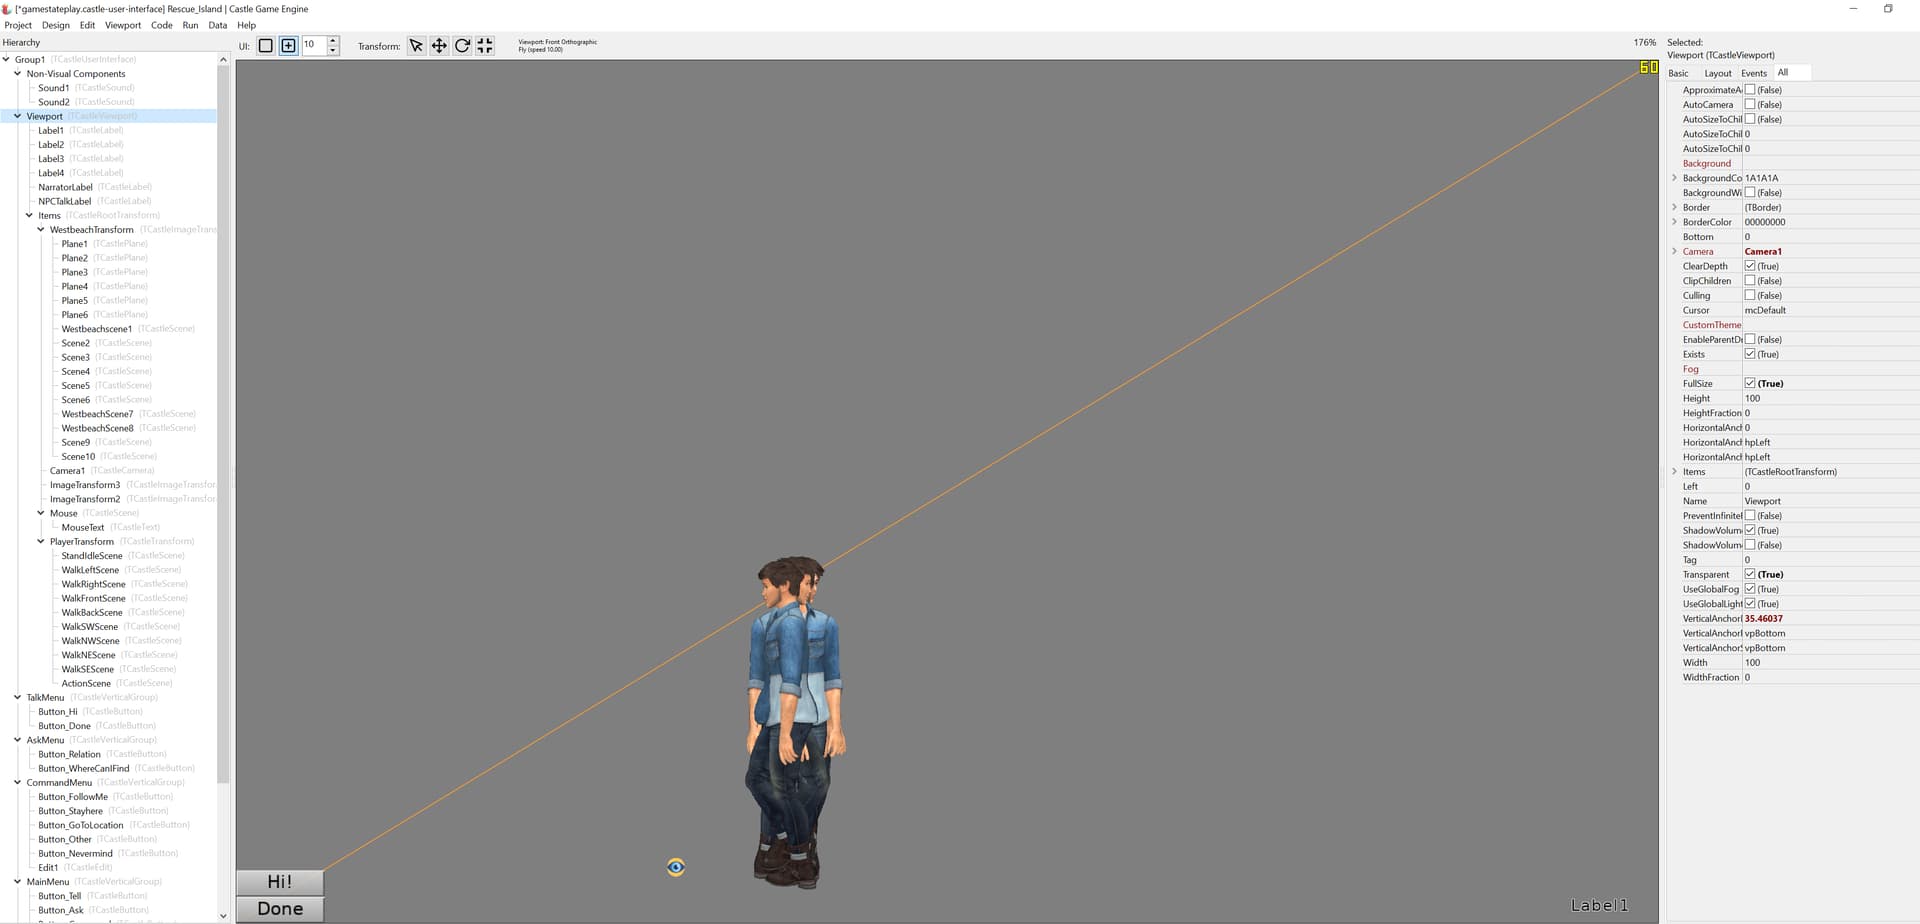
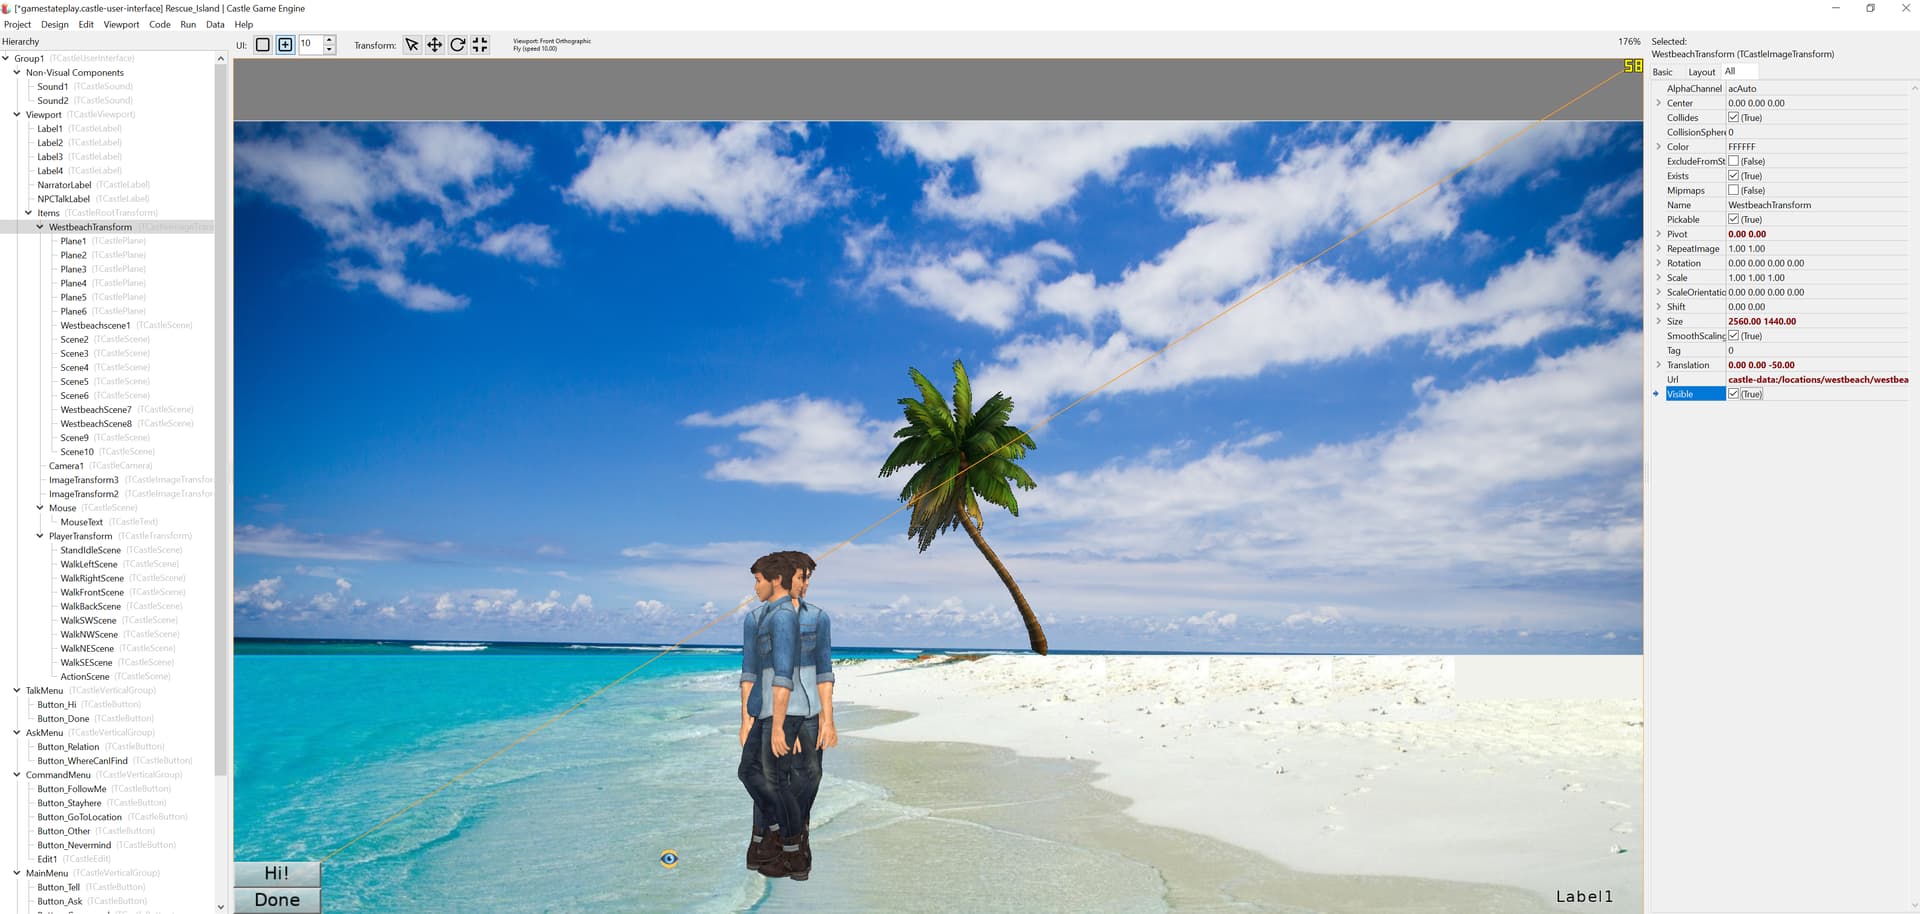
Now I noticed sprite Transforms are disappearing complete from view while running program as soon as I use ImageTransform. This seems to happen at certain position (when X and Y are beyond a certain value?
Without the ImageTransform (visible:= false) they appear allright.
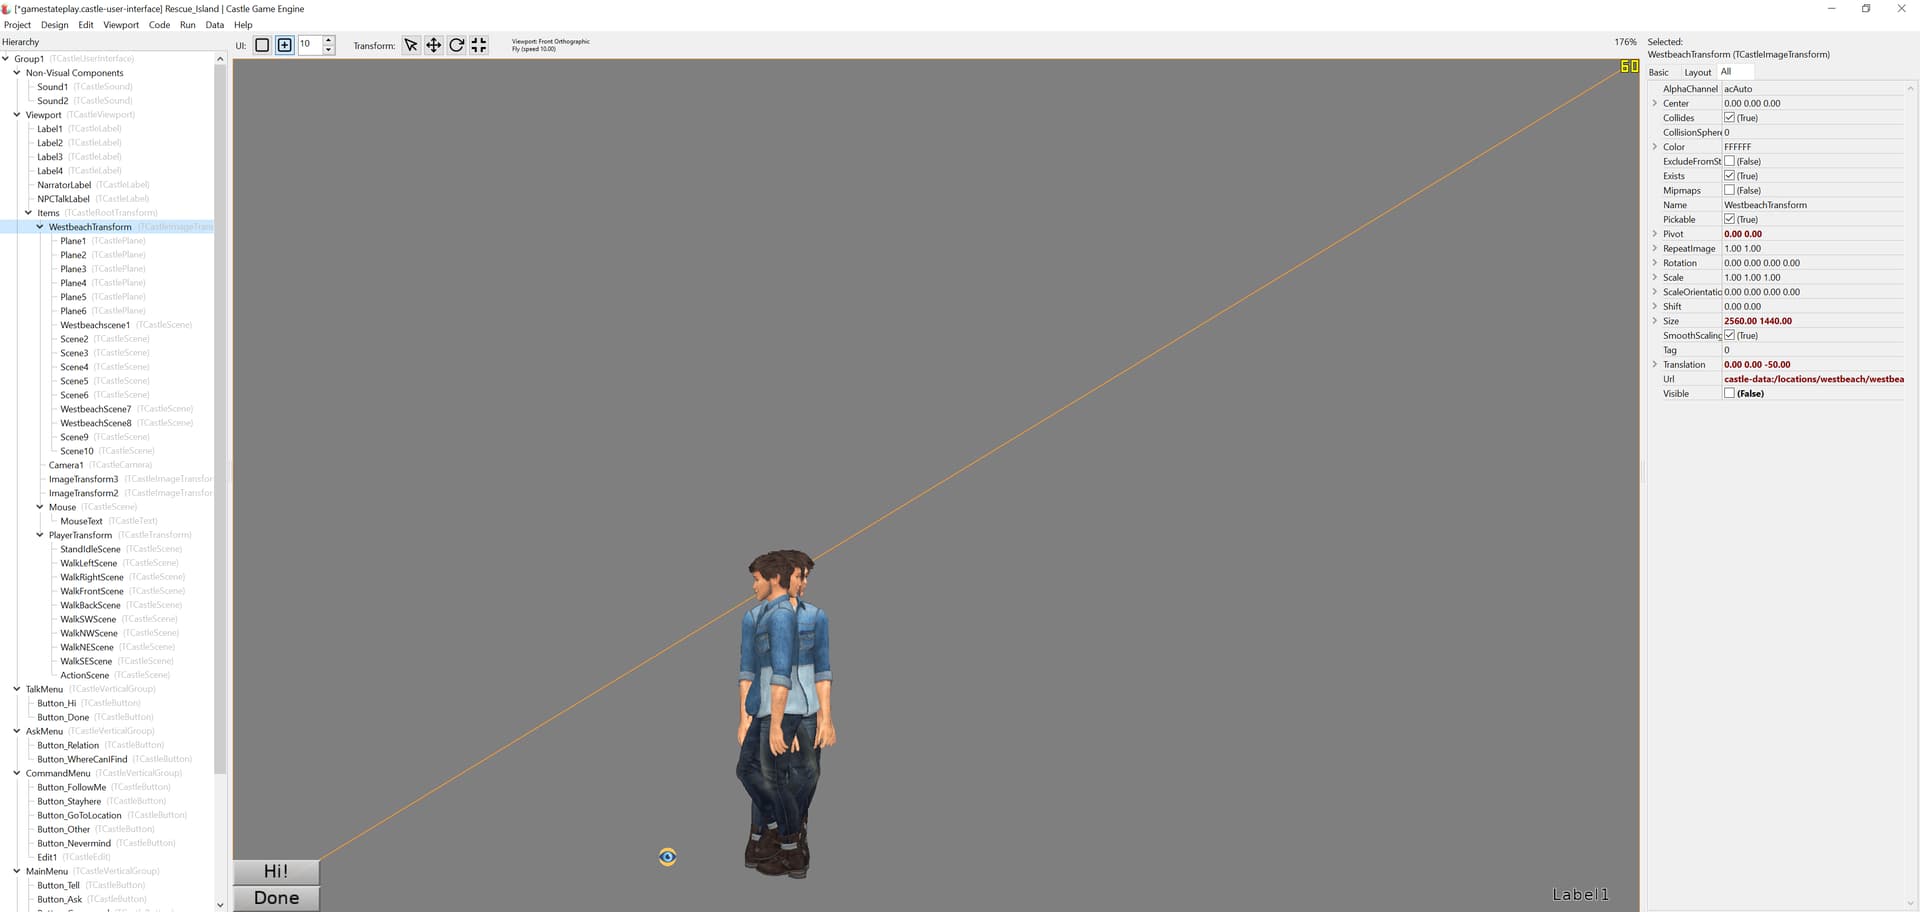
When I set ImageTransform pivot to 0.5 0.5 they are shown but then the background image is not shown at the right coordinates.
Is this a problem with Z values (I tried changing them in code) or pivot or camera position/range of viewing Transforms? I have no idea.
See screens and videos.
The videos are exactly the same. The first one with ImageTransform visible swiched off, on basis of the first 2 screenshots and the second video is with the settings of screenshot 3 (switched on ImageTransform).
All Sprites are created within the code. The visible one in the editor is not used (is just for reference).
I finally got it working but don’t ask how.
I changed something in the Viewport and camera settings.
With this all sprite transforms appear on screen again while running.
I’m happy you got it working, though I’m tempted to ask how
If you have a design file that doesn’t work, or it is unintuitive in CGE editor what to do, please submit it (on forum or as GitHub issue, Issues · castle-engine/castle-engine · GitHub ). I want to make things like camera and transformations easy in the engine.
Yes, I wish I could tell you.
I was awaiting your reply on the above problem and meanwhile I fiddled around with the settings.
Then it suddenly worked but maybe I was just lucky. Anyway I cannot recreate my steps.
Yes I read the chapter. There is much improved in the manual.
Now I am stuck again with translation z factor. I will start another topic on it.